Introduction:
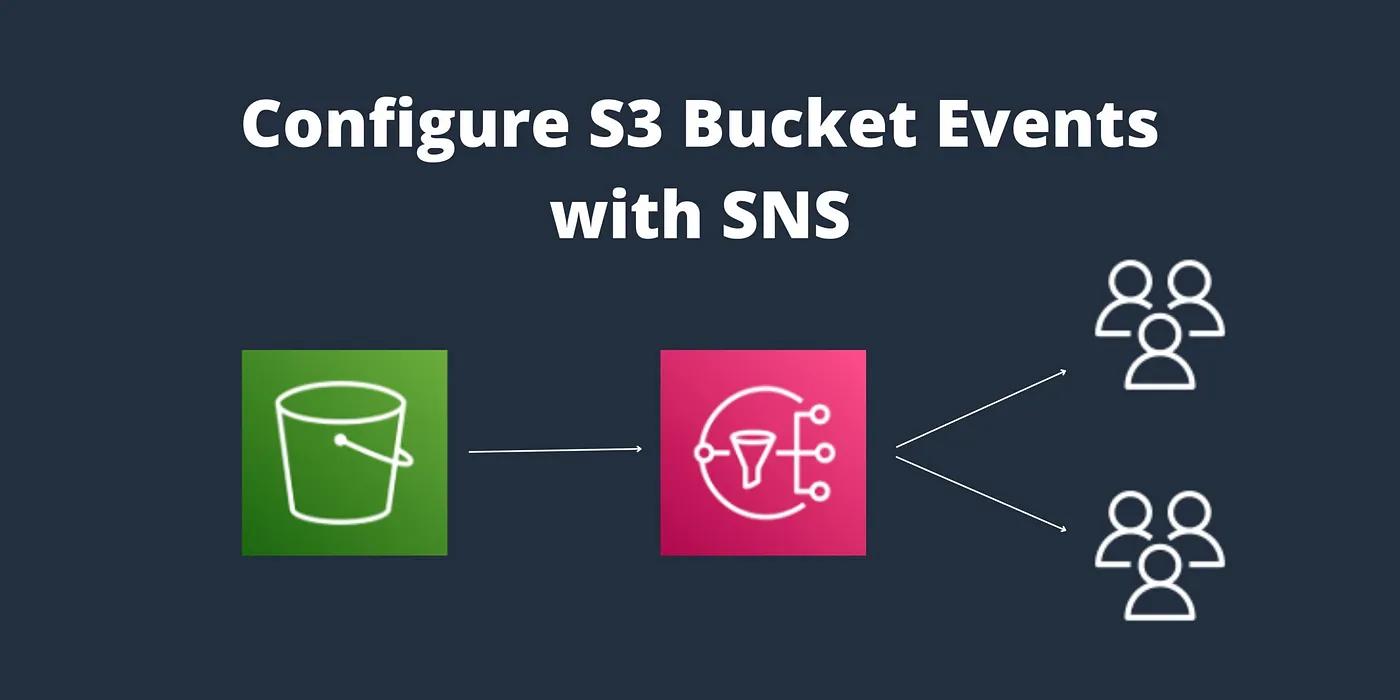
In the cloud-driven world of today, creating reliable, event-driven apps requires automation and real-time alerts. The combination of Amazon SNS (Simple Notification Service) and Amazon S3 (Simple Storage Service) is one of the most effective AWS pairings for these kinds of use cases.
In this blog, we will walk you through:
- Creating an SNS topic
- Subscribing to that topic via email
- Configuring S3 to trigger an SNS event when a new object is created
Whether you’re building a notification system or a fully event-driven architecture, this guide will help you get started with confidence.
What is Amazon SNS?
Amazon SNS (Simple Notification Service) is a fully managed messaging service that supports the publish/subscribe (pub-sub) communication model. It allows you to send messages to multiple subscribers through different protocols like:
- Email
- SMS
- Lambda
- SQS
- HTTP/HTTPS endpoints
You create topics, publish messages to those topics, and then all subscribers receive the messages.
What is Amazon S3?
Amazon S3 (Simple Storage Service) is an object storage service used to store and retrieve data. It supports S3 Event Notifications; it can automatically trigger a target (like SNS, Lambda, or SQS) when an object is added, removed, or modified in a bucket.
By combining S3 with SNS, you can receive instant notifications when specific events happen in the S3.
Step by Step procedure for creating and subscribing to SNS Topic and add SNS event for s3 bucket
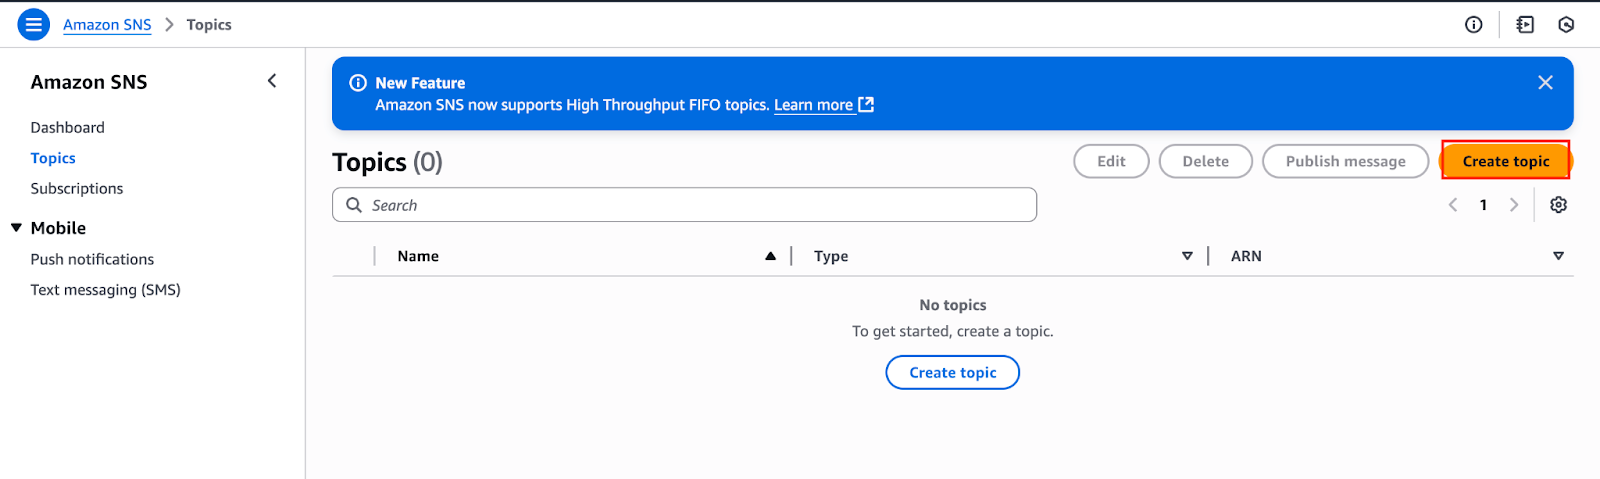
Step1: Creating SNS Topic
- Navigate to SNS by clicking the SNS Service menu available under the Application Integration.
- In the left menu of SNS, Click on Topics and Click on Create Topic.
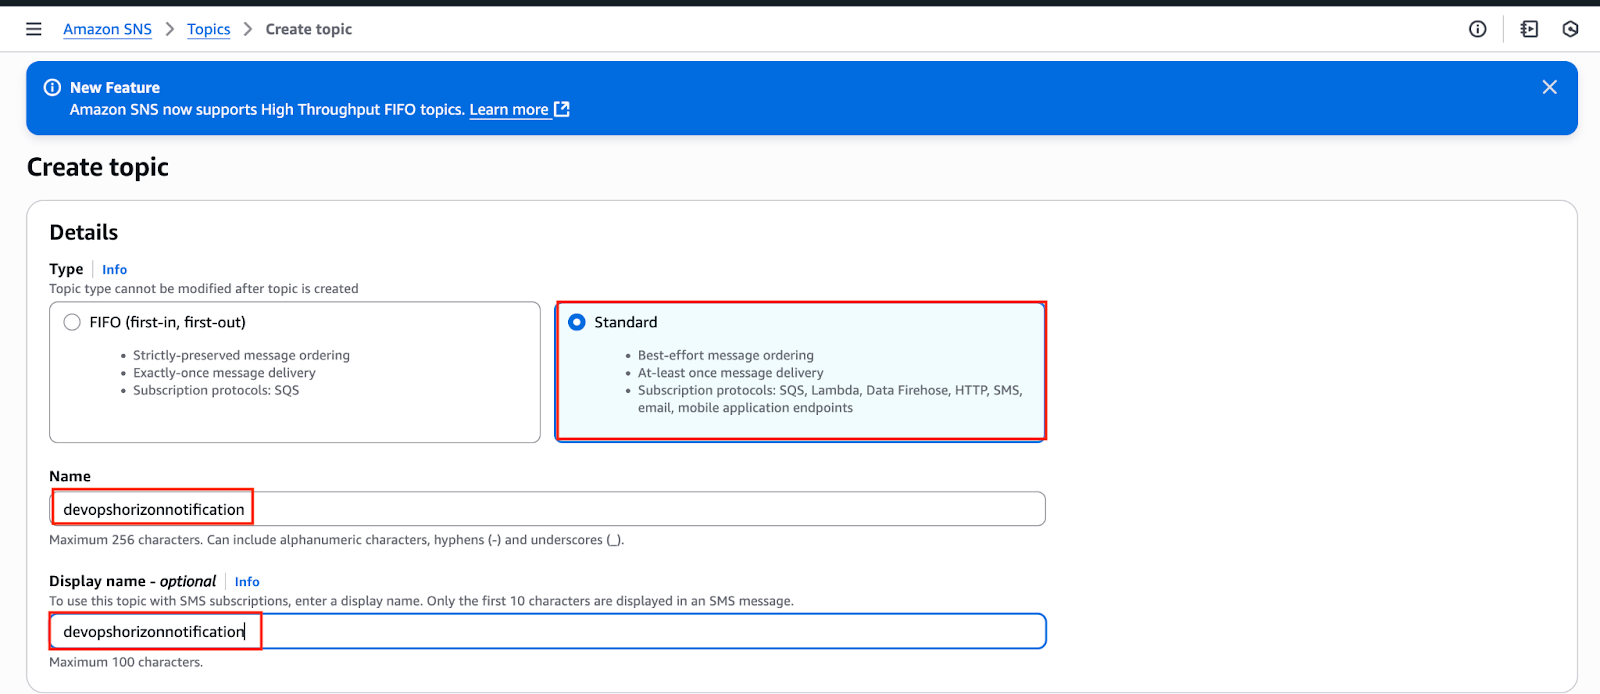
3. Under Details:
- Type: Standard
- Name: devopshorizonnotification
- Display name: devopshorizonnotification
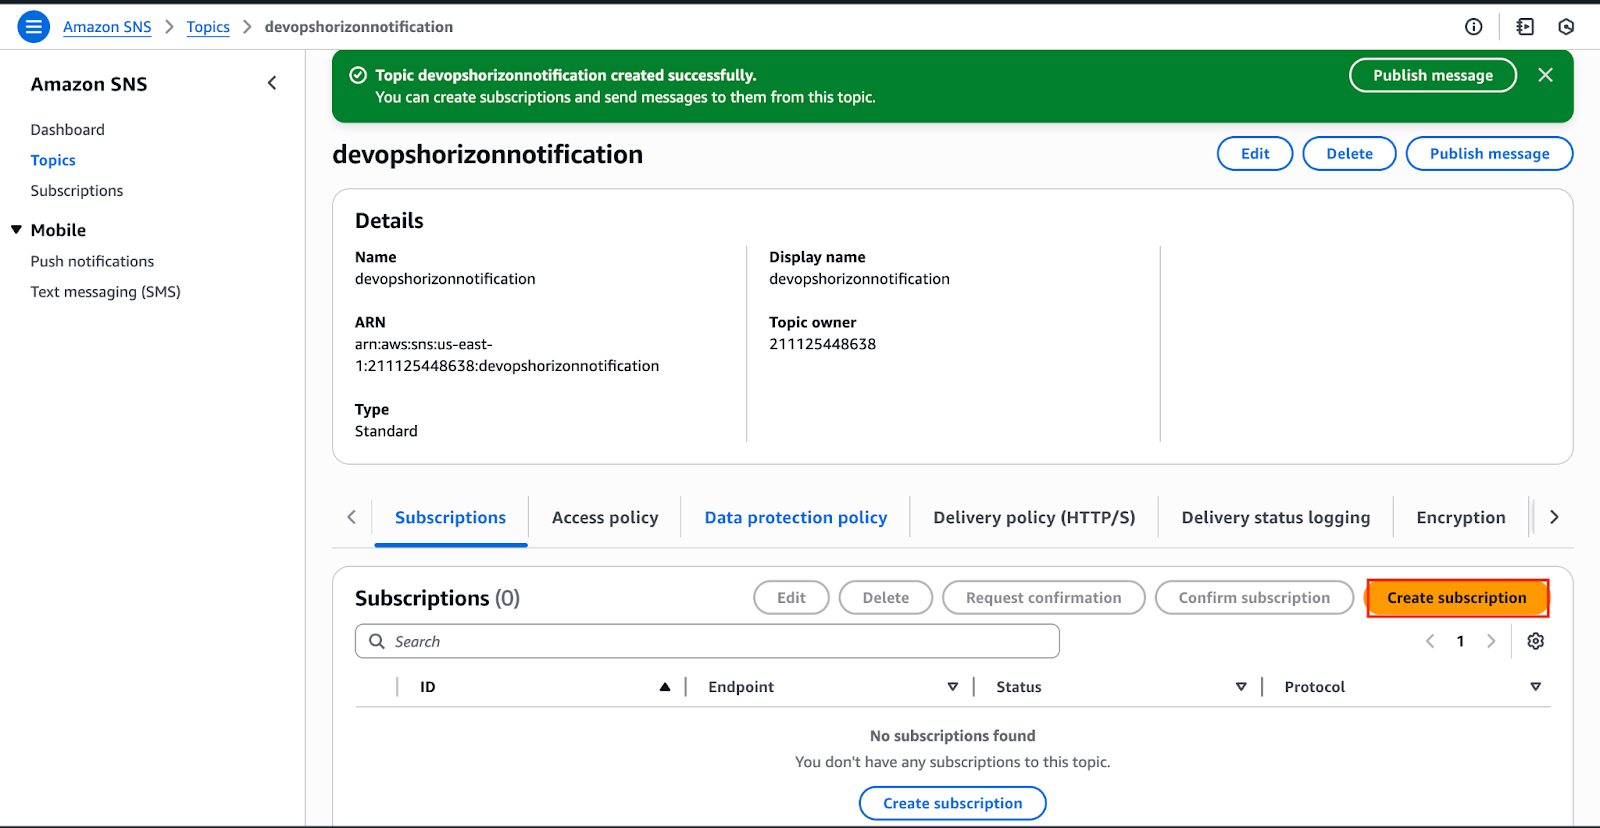
Step2: Subscribing to the Topic via Email
- Under devopshorizon, click on the Subscription button.
2. Under Details:
- Topic ARN: Default
- Protocol: Email
- Endpoint: < Your Email>
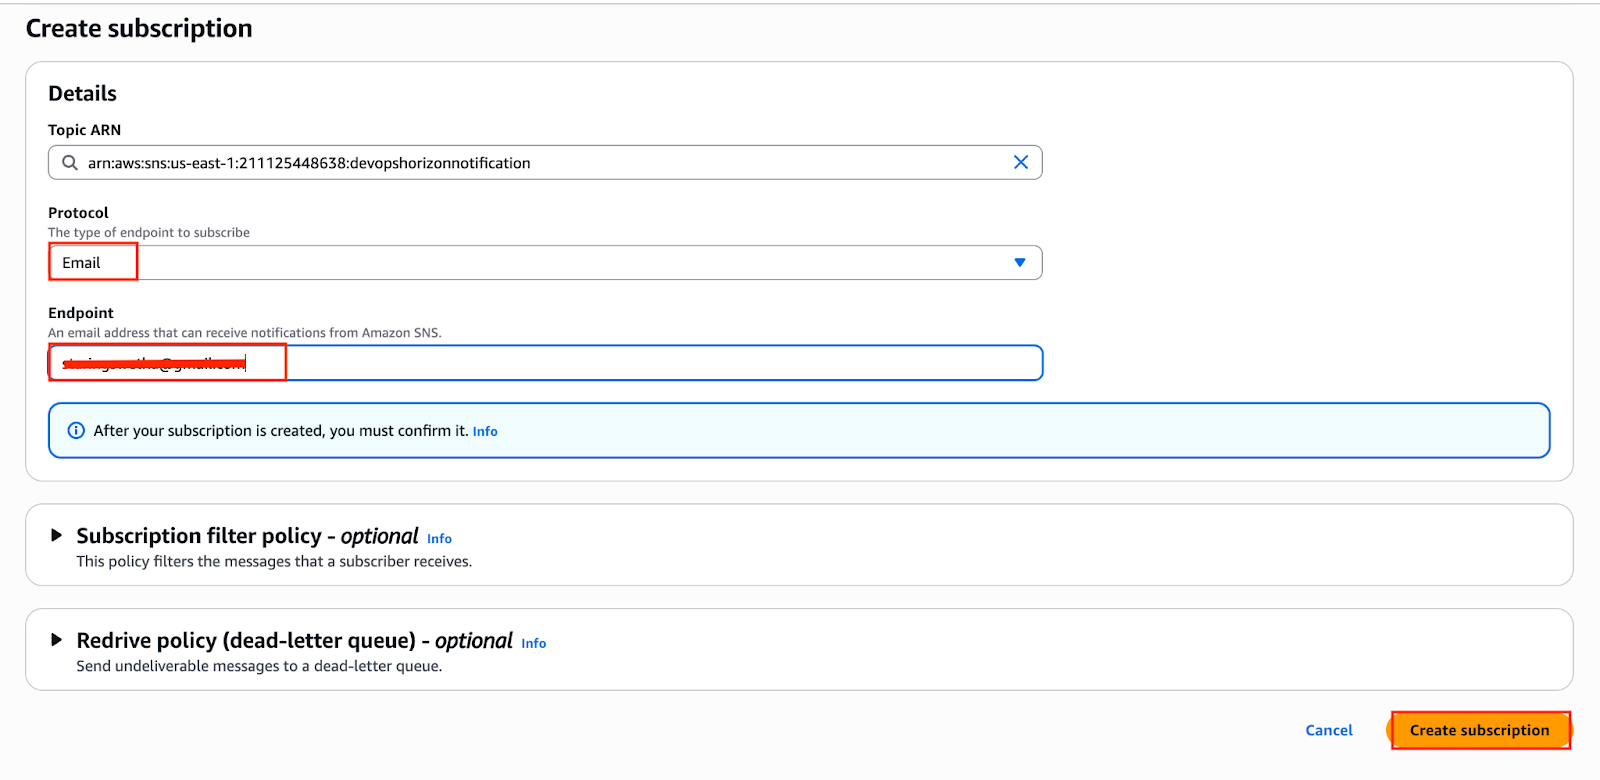
3. Click on create subscription.
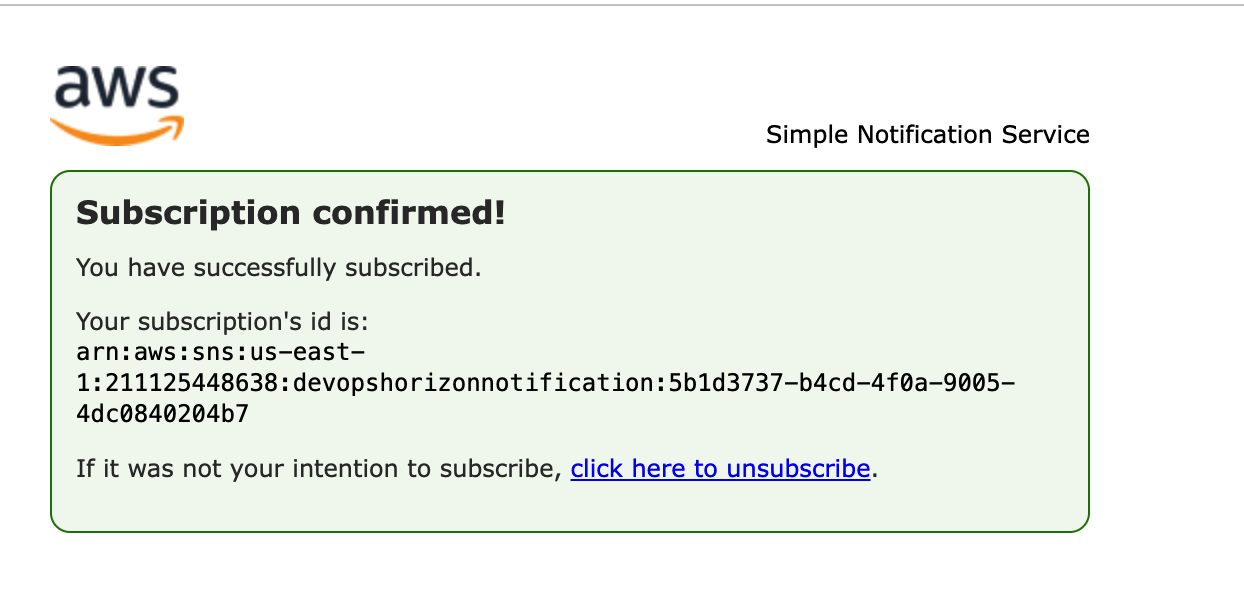
4. You will receive an email confirming the subscription from sns notification.
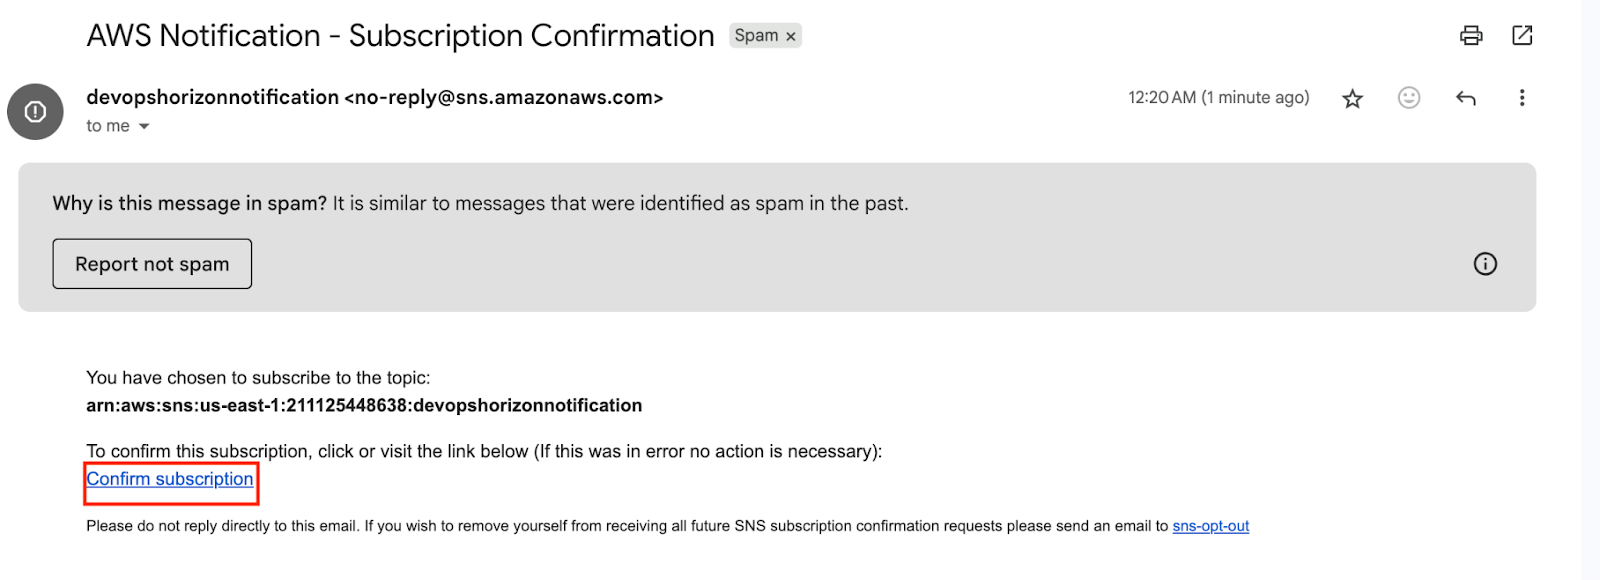
5. Click on Confirm Subscription
Step3: Create an S3 bucket
- Navigate to AWS S3 by clicking on Services in the top left corner. S3 is available under Storage.
- In the S3 dashboard, click on the Create Bucket button and fill in the bucket details.
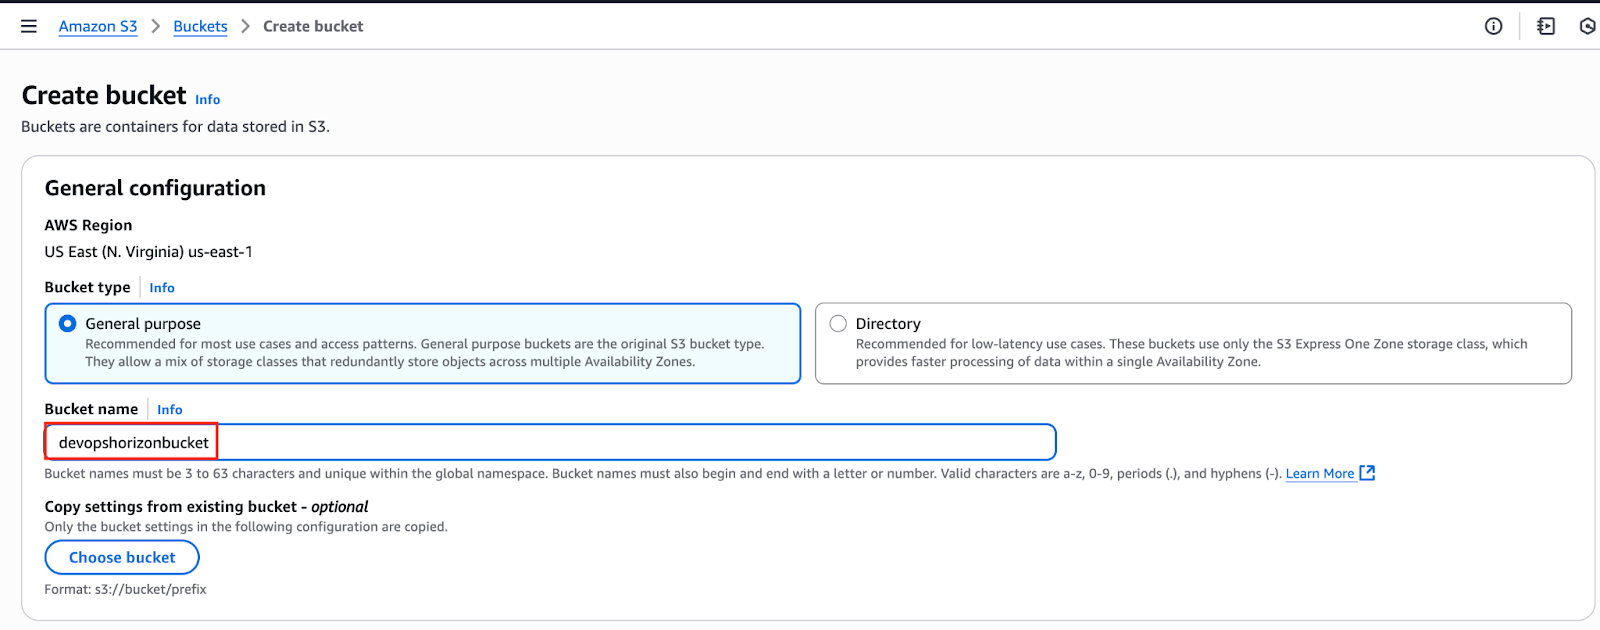
- In the General Configuration:
- Select Bucket type : General purpose
- Bucket name: Enter devopshorizonbucket
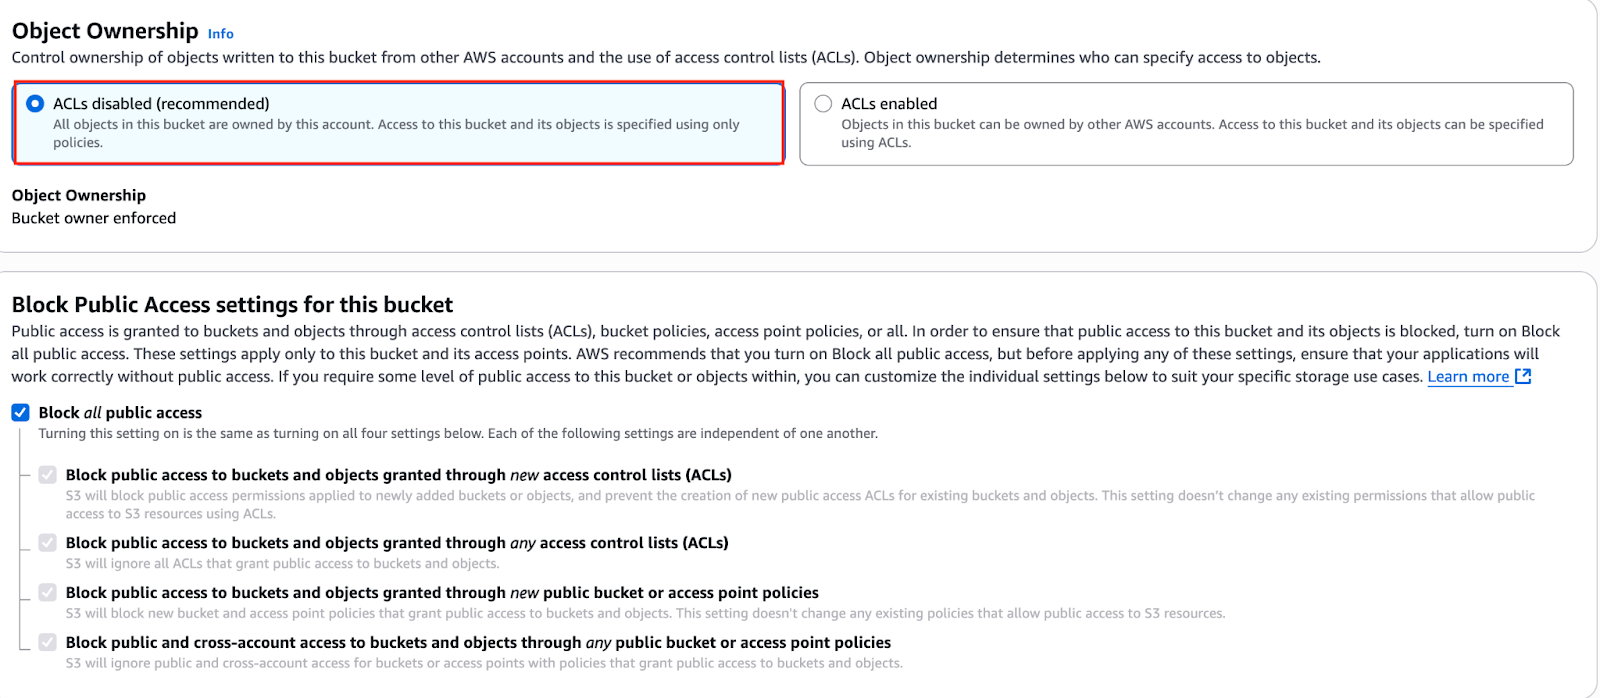
4. Object ownership: Select ACLs disabled (recommended) option
5. Leave all other settings as default and click on Create bucket.
6. Select the created bucket and click Copy content on the top. Save the ARN.
Step4: Update SNS Topic Access policy
- Navigate back to the SNS page.
- Click on Topics.
- Click on devopshorizonnotification.
- Click on Edit in the top right corner to edit the Access Policy of the SNS topic.
- Expand Access Policy.
- Update the SNS policy as shown below:
- Note: Here we need to update two things after pasting the below policy.
- Remove the old SNS policy and add the new policy to the SNS topic
- SNS Topic ARN in the Resources section below
- S3 bucket ARN in the Condition section below.
{
“Version”: “2008-10-17”,
“Id”: “__default_policy_ID”,
“Statement”: [
{
“Sid”: “__default_statement_ID”,
“Effect”: “Allow”,
“Principal”: {
“AWS”: “*”
},
“Action”: [
“SNS:GetTopicAttributes”,
“SNS:SetTopicAttributes”,
“SNS:AddPermission”,
“SNS:RemovePermission”,
“SNS:DeleteTopic”,
“SNS:Subscribe”,
“SNS:ListSubscriptionsByTopic”,
“SNS:Publish”,
“SNS:Receive”
],
“Resource”: “<Your_SNS_Topic_ARN>”,
“Condition”: {
“ArnLike”: {
“aws:SourceArn”: “<Your_Bucket_ARN>”
}
}
}
]
}
7. Click on Save Changes.
8. Now, your SNS topic has access to send notification events based on S3 bucket events
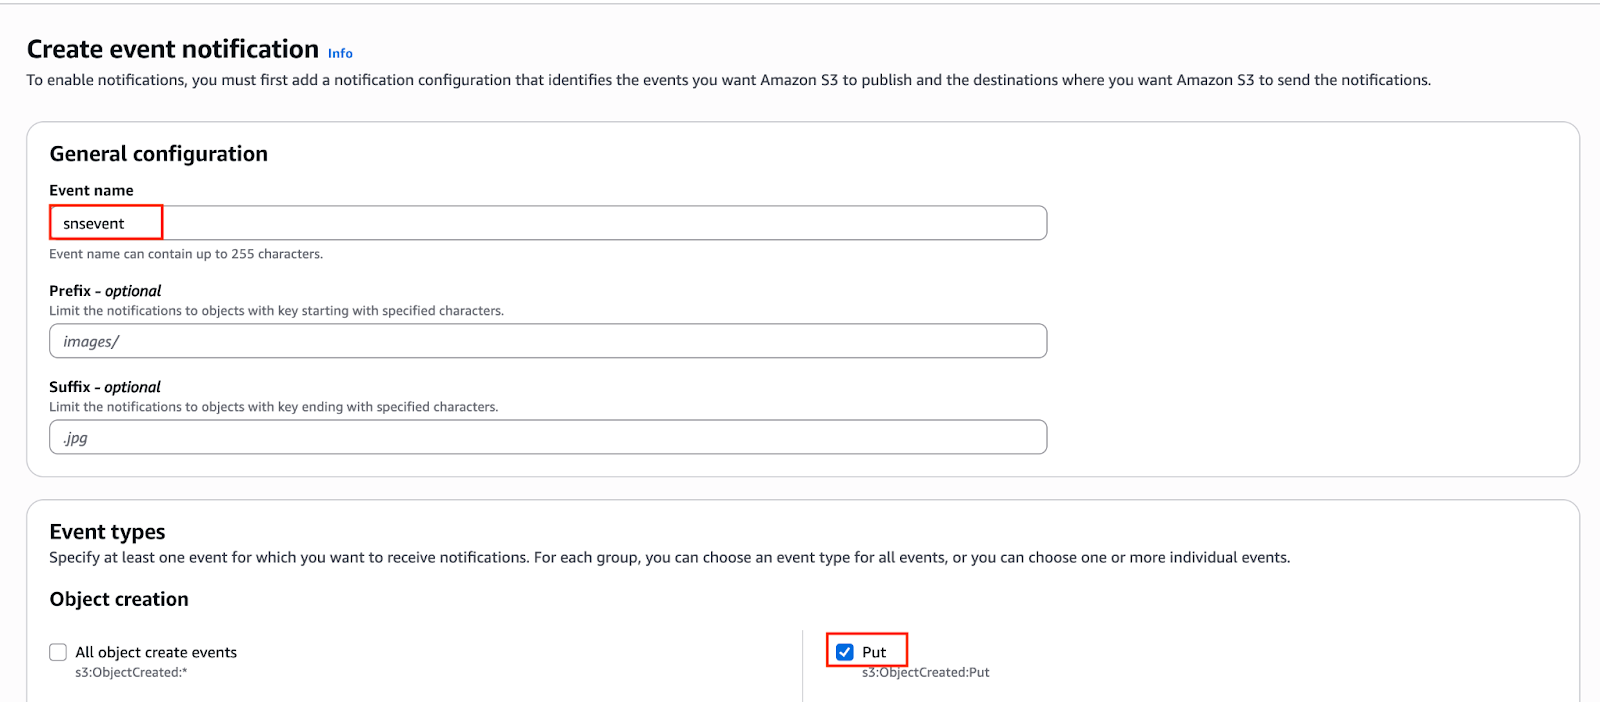
Step5: Create an event in S3 Bucket
- Navigate back to the s3 page.
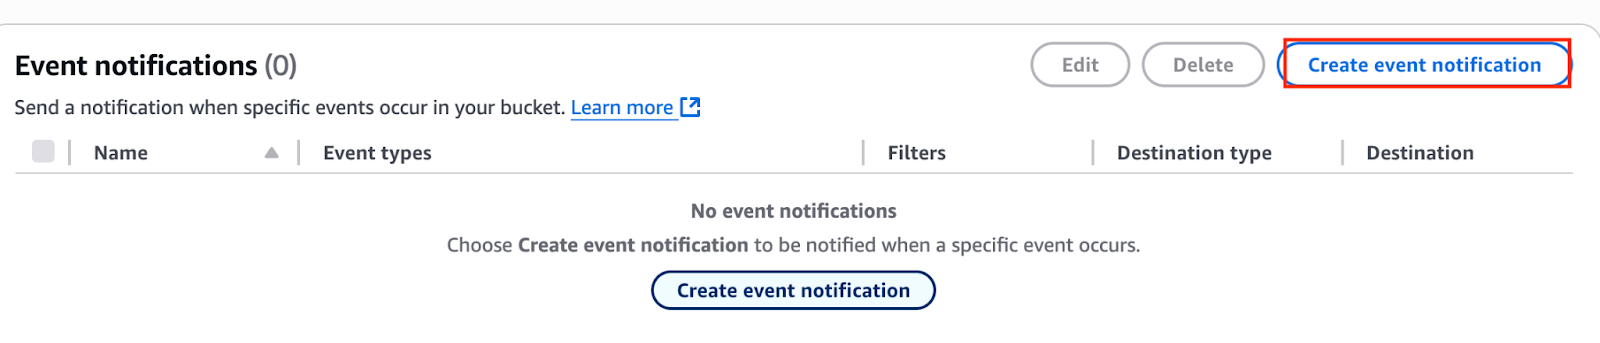
- Select the S3 bucket created in Step 2, navigate to the “Properties” tab, and click on Create event notification.
3. Event name : Enter snsevent
4. Event types : Check PUT
5. Under Destination select sns topic and select the existing sns topic which we have created before steps.
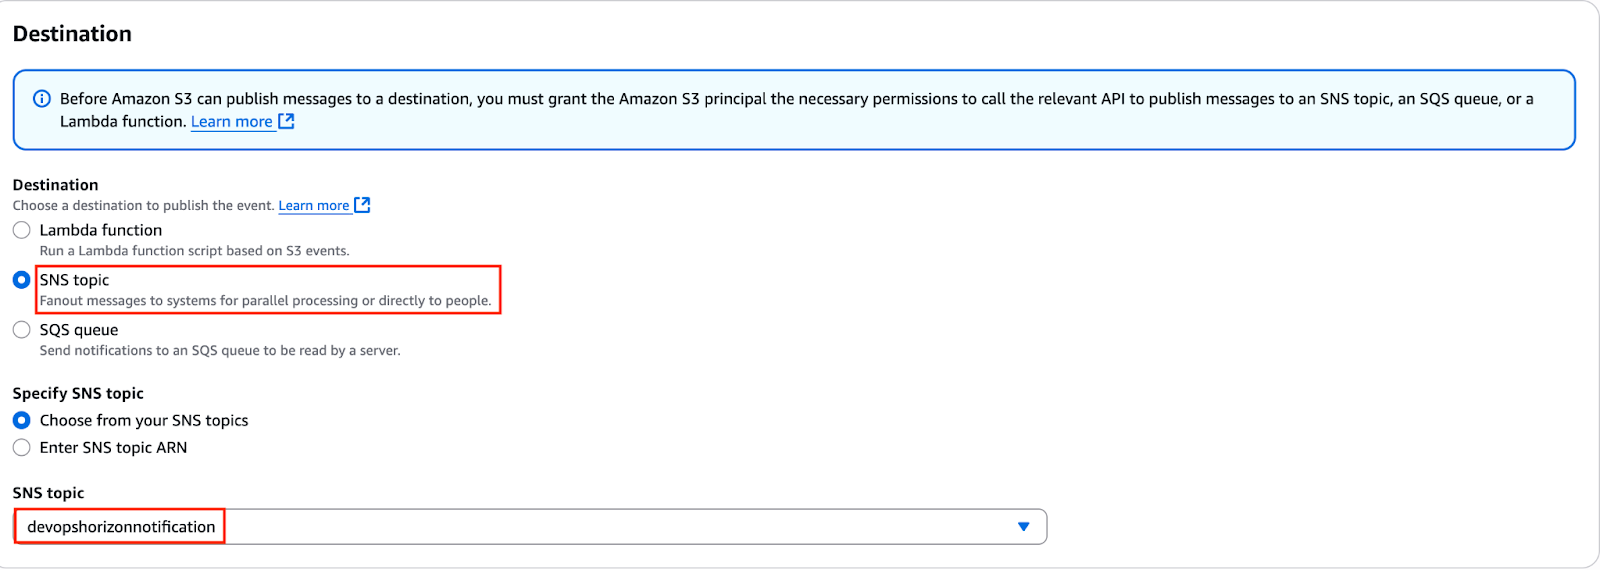
6. Click on save changes.
Step6: Test the SNS Notification
- Open your S3 bucket mys3buckettestingsns.
- In the bucket, under Objects, click on Upload
- Now click on Add Files and upload an image from your local system.
- Once the image is successfully uploaded to the S3 bucket, click on Close. Now you can see the uploaded image under Objects.
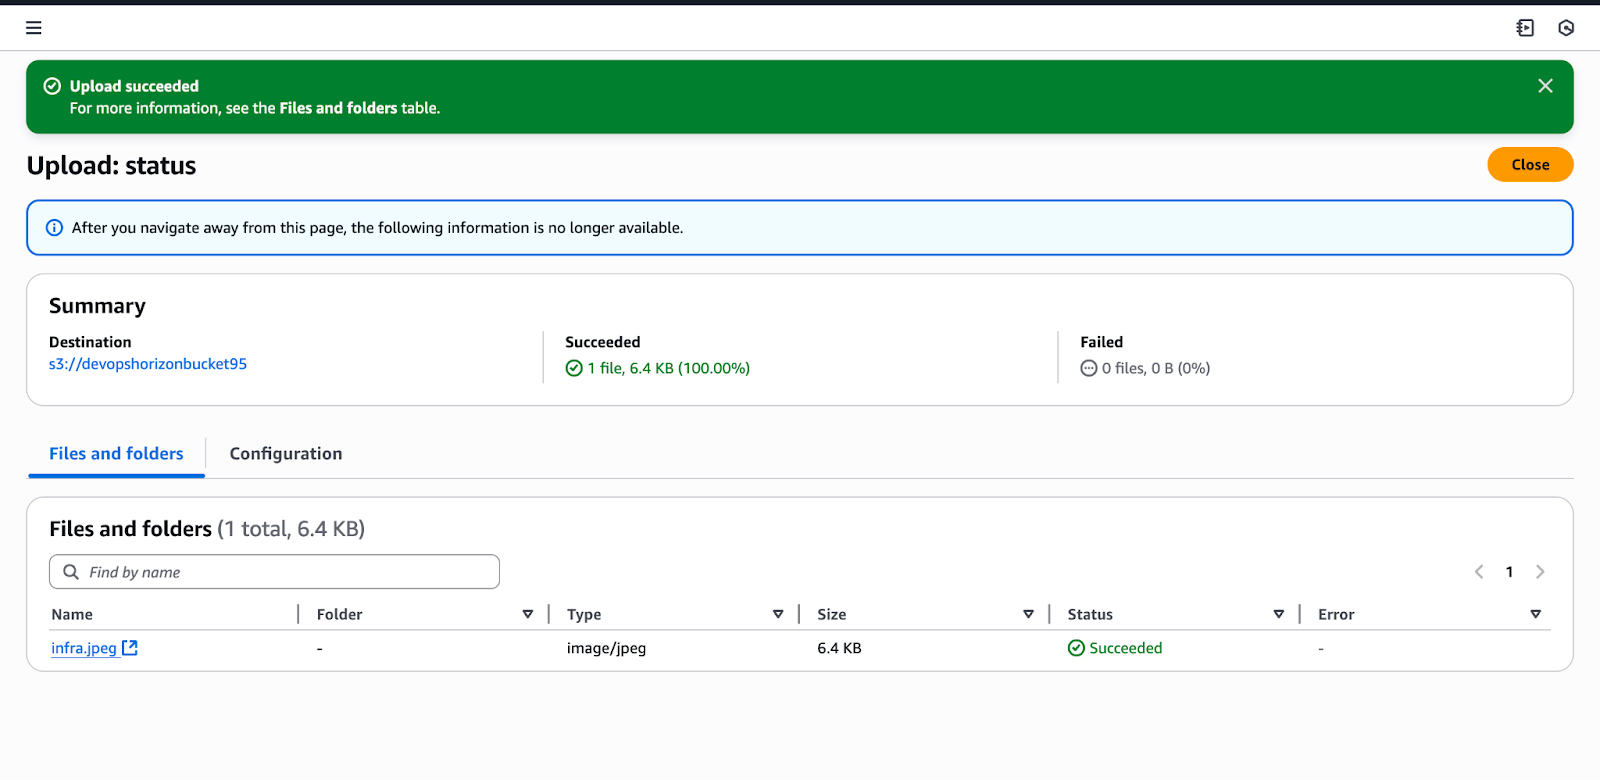
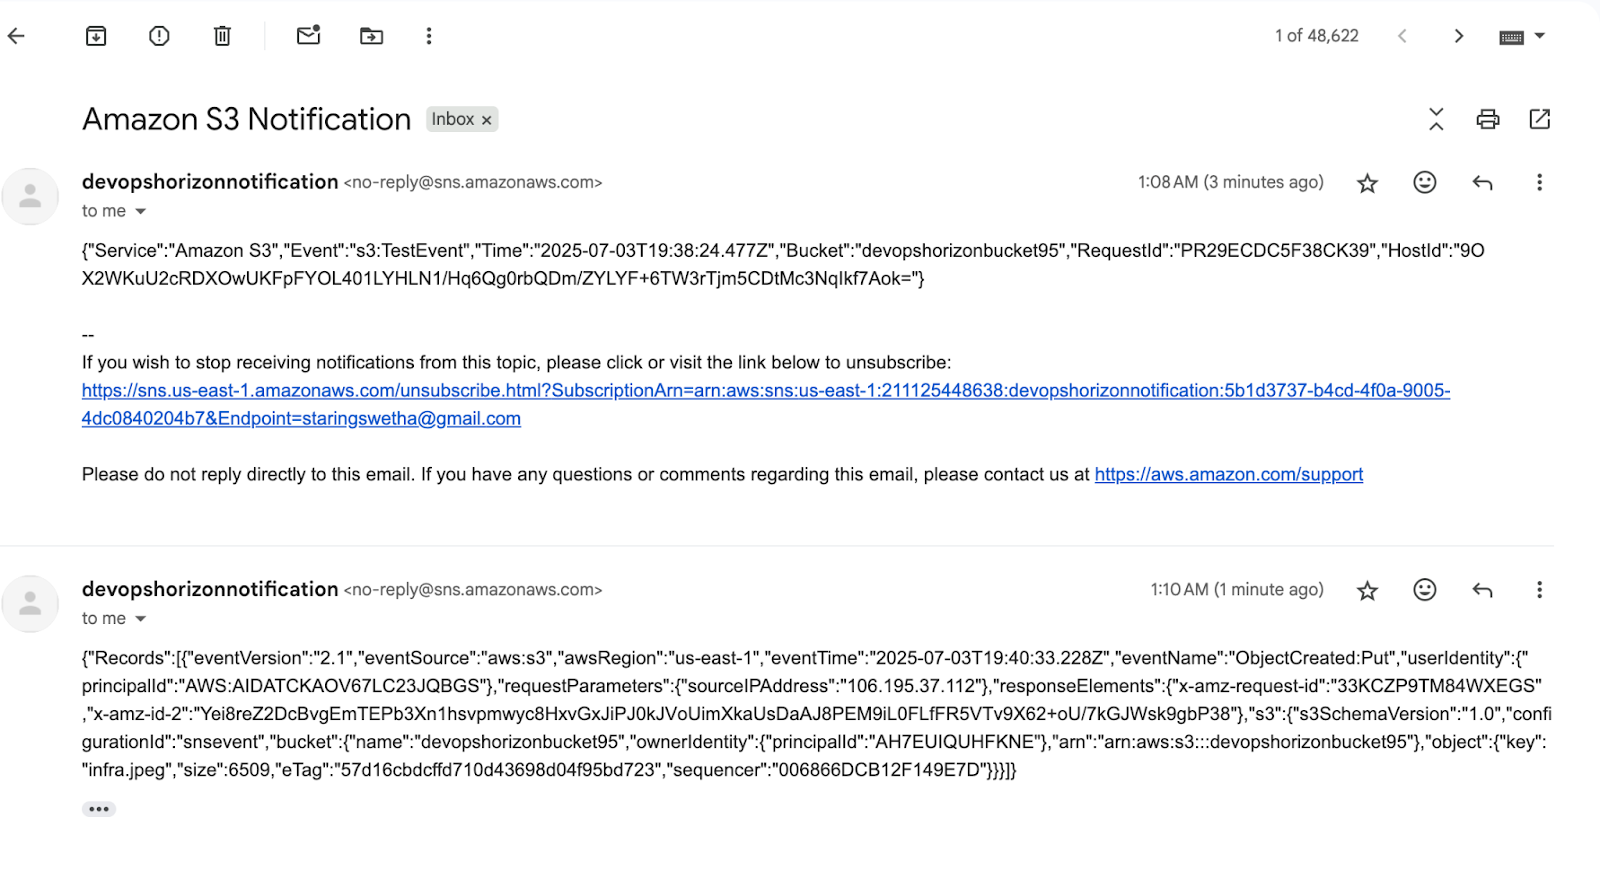
5. You have successfully received an SNS notification based on the PUT object event in S3 bucket.
Conclusion
AWS S3 and SNS are both strong technologies on their own, but when used together, they maximize the potential of event-driven automation. This combination enables you to react quickly to changes in your data, whether you’re creating scalable workflows, real-time alerts, or alerting systems.Numerous real-world AWS applications make use of this basic yet potent architecture. For further posts about cloud and devops, follow DevOps Horizon.